Showing posts with label assignment. Show all posts

Sunday, July 19, 2009

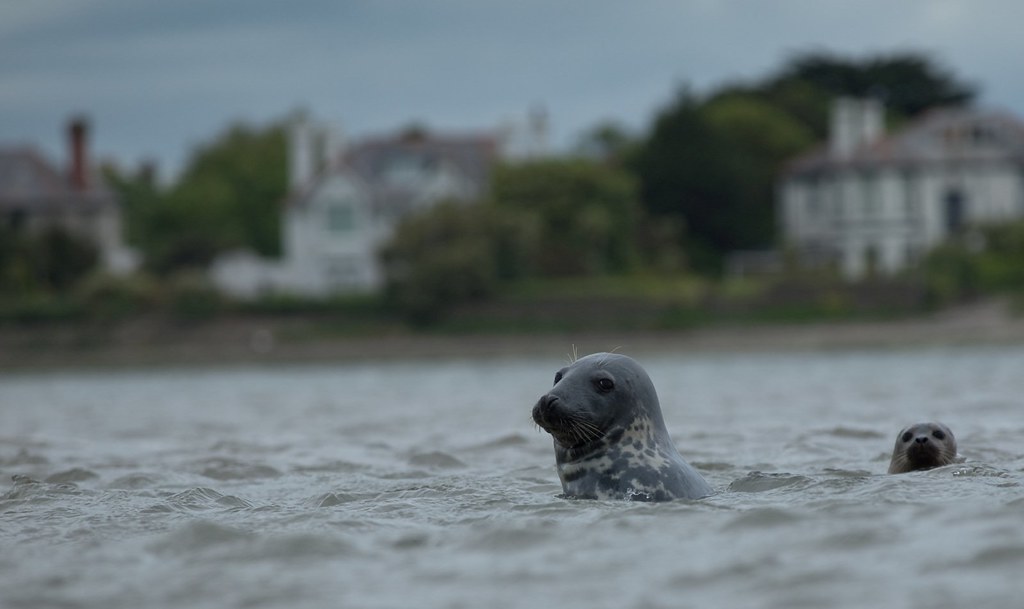
Bull Island Seals Dublin Photo shoot

Bull Island is located just south of Howth, around a 10 min drive from Howth harbor. It is a nature reserve, so make sure to follow the rules listed there. In order to find the seals you need to park on the northern part of the Island (Second bridge if you are coming from Dublin)

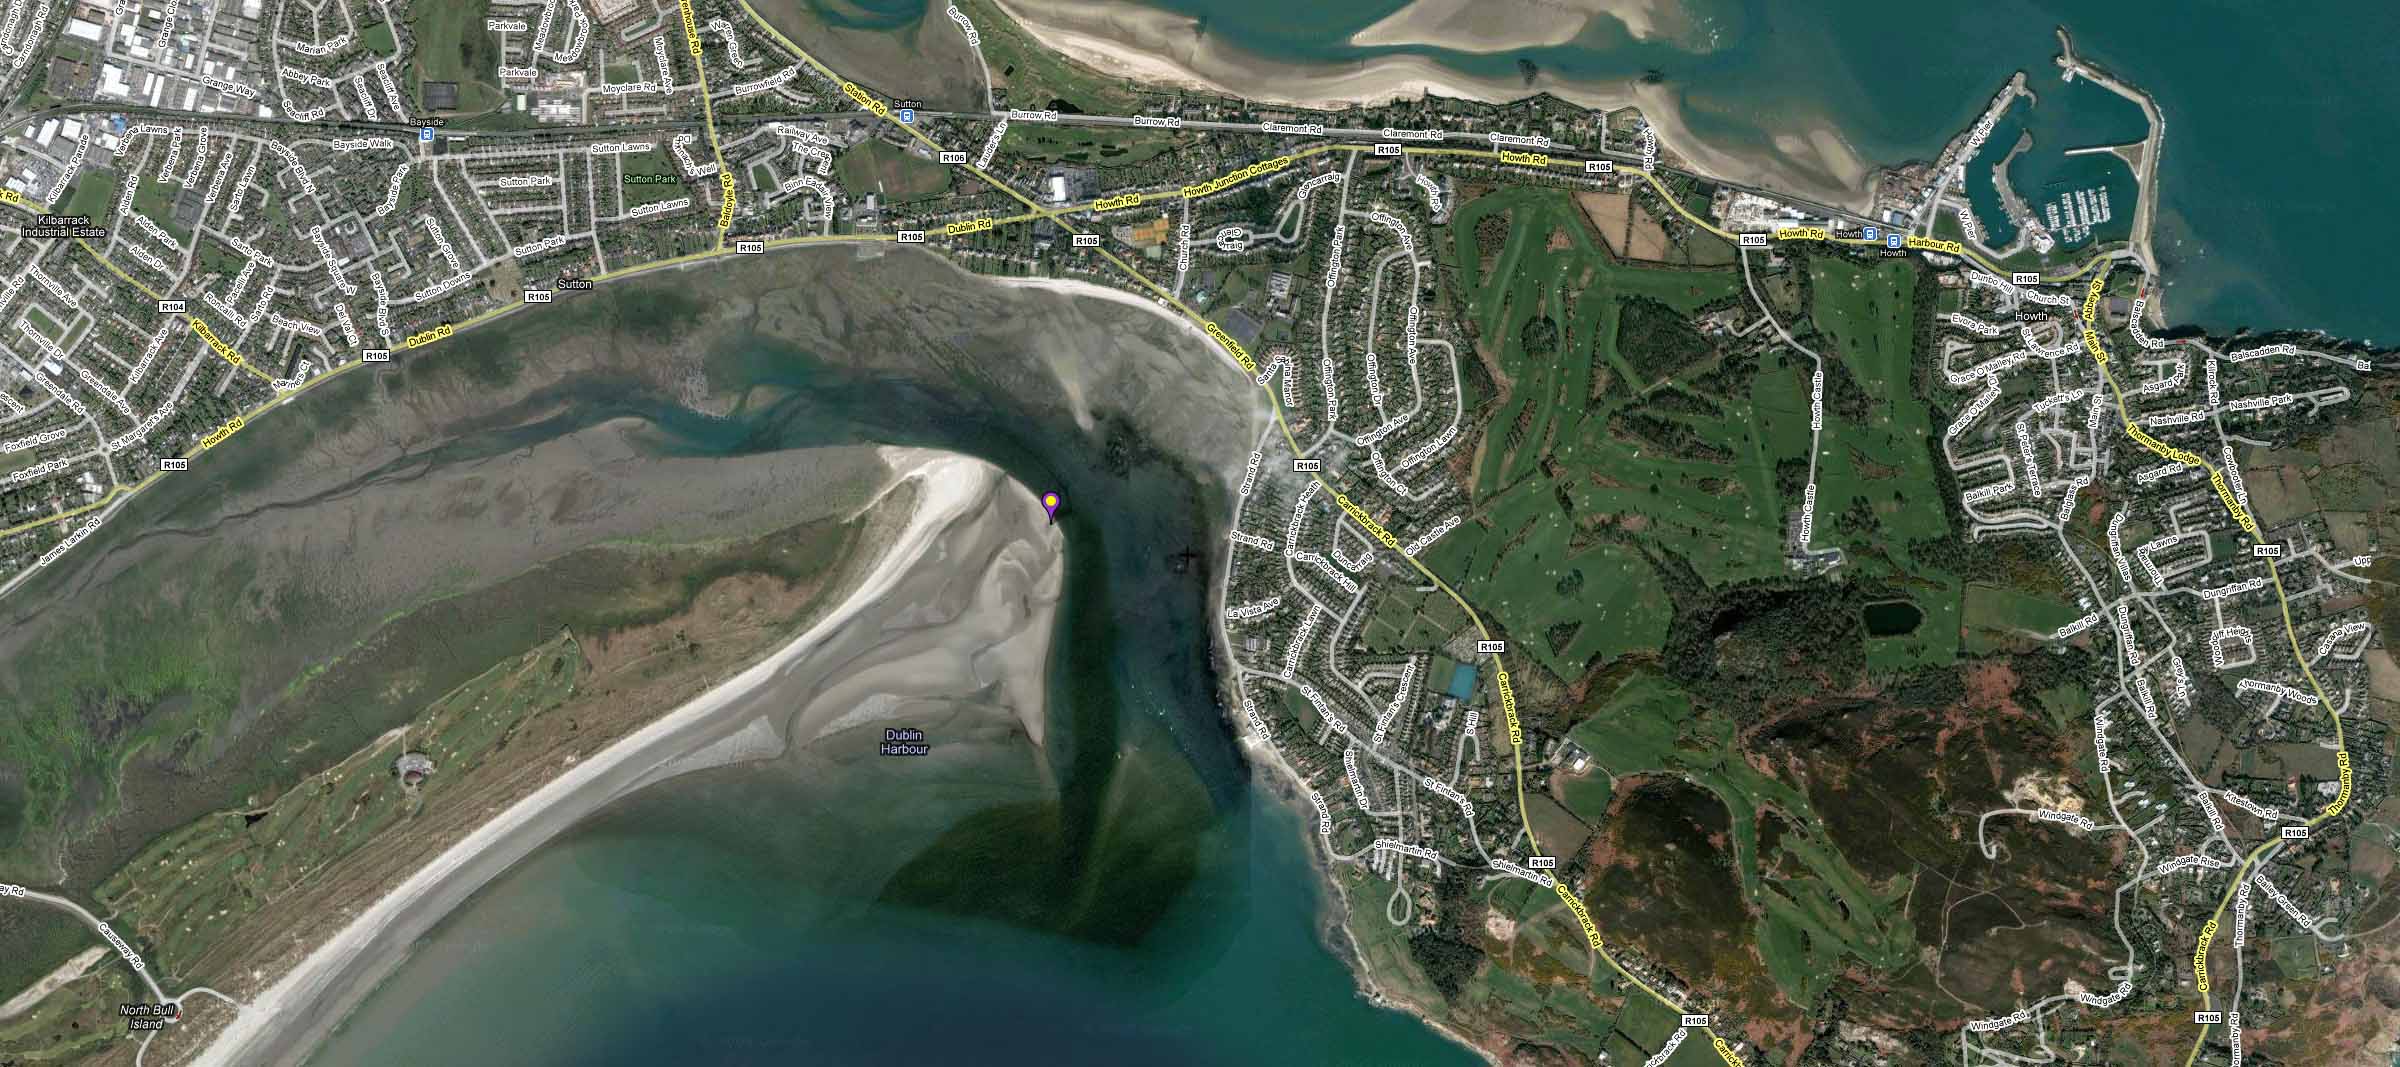
Park your car in the sand parking lot, and get ready for a 20-30 min walk. Here is a quick map on where you will find the seals my location is marked with the purple marker.

For Olympus RAW file usage with GPS I recently discovered GeoSetter, great tool that can work with the .ORF files, write the .xmp card or directly into the file to accommodate GPS data. Highly recommended.

Funny enough this map shows the exact GPS location where I was located, but bear in mind that the tide changes, so that area could be covered with water any other day, but I have been there 3 times and the seals are always located on the northernmost corner of the island, but not all the time laying on the sand, which was the shot I was looking for. After a couple of tries, here is what I managed to get prior to this day..just a few head shots.
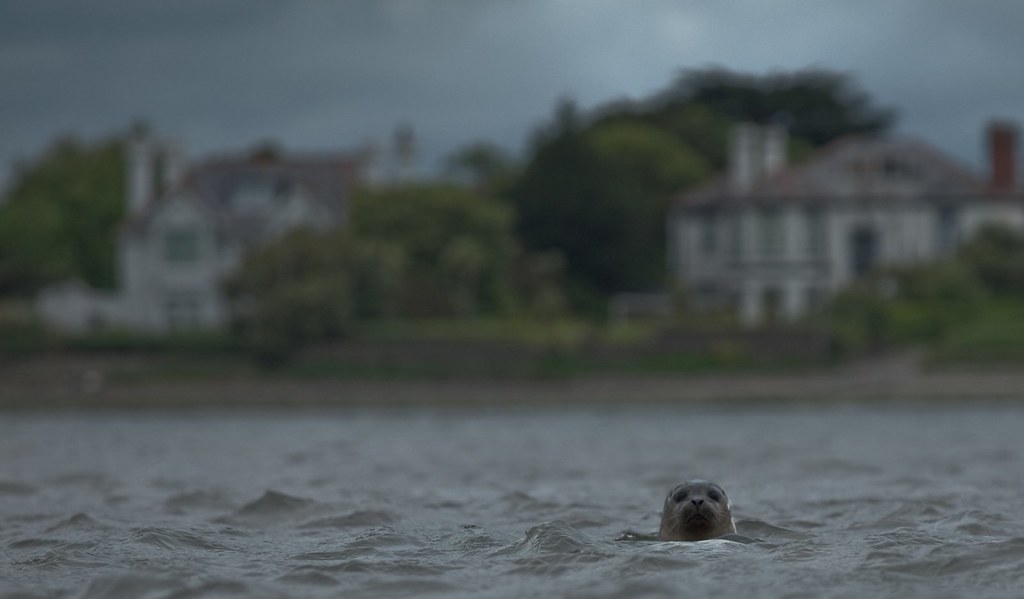
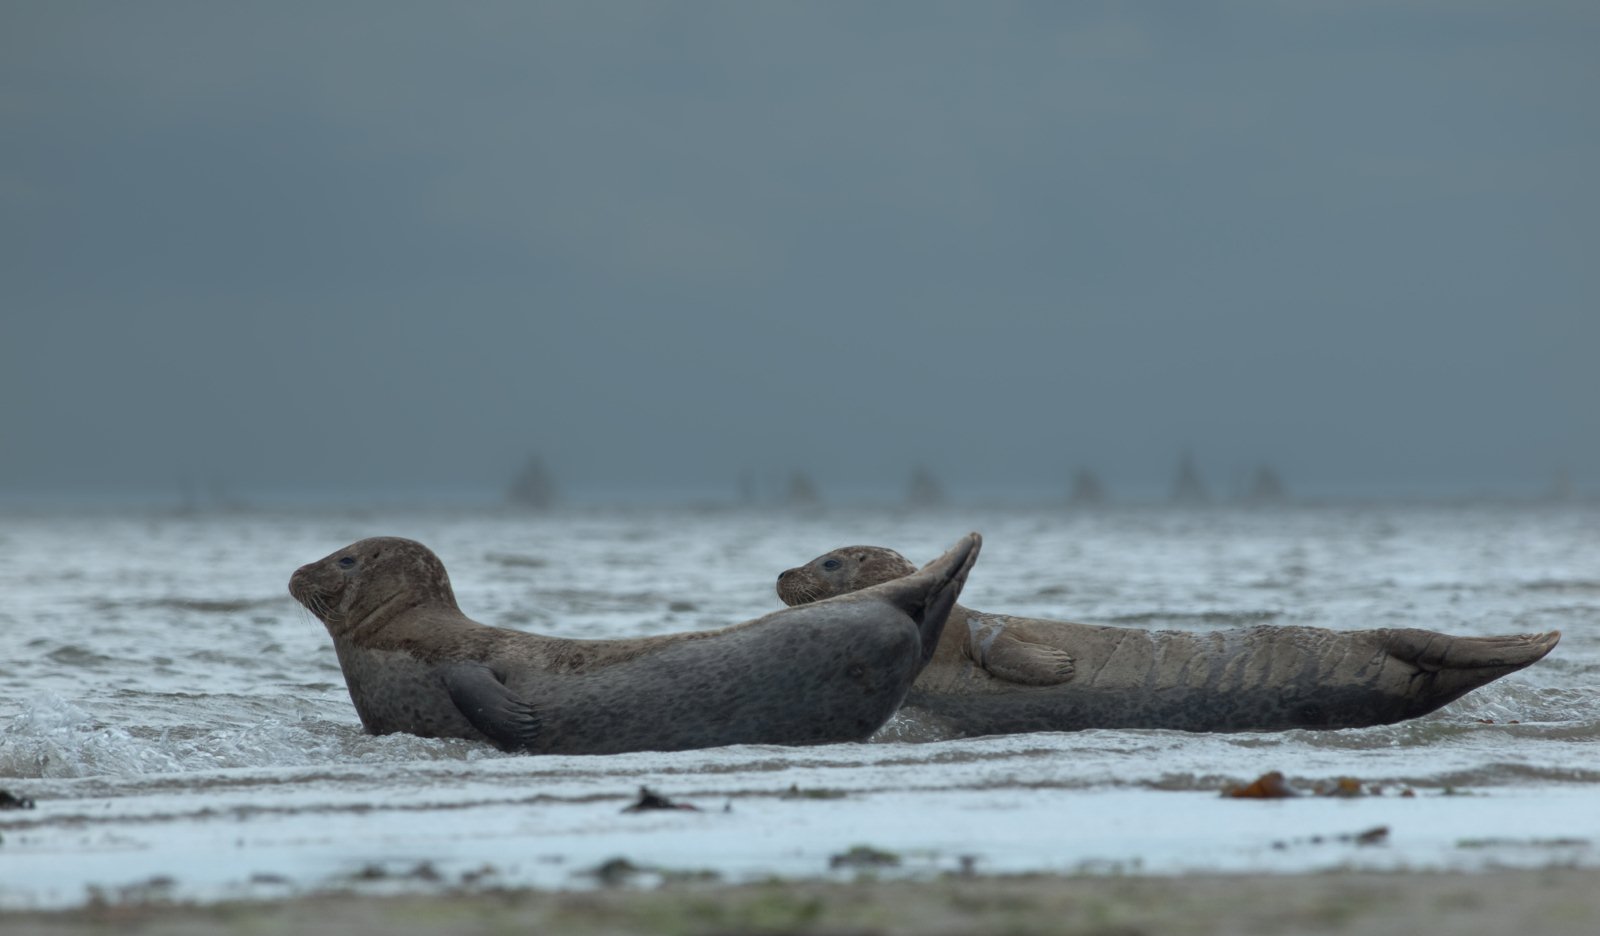
I believe that in order to get shots from the seals outside of the water there must be a reasonable amount of sun and a low tide, this last time I went was around 9AM, so I dont think the hour in the day matters that much.

My Gear:

  • Olympus E3
  • Olympus E30
  • Zuiko 50-200mm 2.8
  • Zuiko Teleconverter 2X EC-20
  • Hoya Polarizer Filters
  • Lowepro FastPack 250
  • Wind resistant pants and jacket
  • Wellies

    After a good 30 minute walk,  and depending on the tide you will find the seals at the northeast corner, approach very slowly and be very careful of the sand. I misjudged some weed and sand banks and went right in all the way to my knees covered with weed,sand and I am sure smell liked shit.  Once you are 50-75 meters away from the seals lay down on the sand, take your gear out and start approaching them by dragging yourself trough the sand, if the seals see something taller or something similar to a human shape they will dive right into the water.

    Take a few shots and get closer, make the seals comfortable, and then get closer again, if some of them get scared and dive into the water stop immediately, stay still for a few minutes and move again. I saw a group of 15-20 seals but as I got closer and the tide rose few and few seals remained.

    Use your bag as a bean bag and start shooting, I used Shutter and Aperture Priority Mode, low ISO (100) and a polarizer filter. I tried some shots with the tele-converter but I thought I was sacrificing too much sharpness, so decided to get closer and also crop some of the images to close-in the seals.

    Being gray seals, the metering system will struggle with the light measuring of both the harsh light reflecting on the sea and the dark features on the seals faces, so compensated with EV+1 to bring some details on the face, or try and fix on post processing.

    Puppies are very curious so they are the ones that will be the most active and will get closer to you, but be careful in never getting between the puppy and the mom, as they will feel threatened. Also as some seals go in the water be aware always of where they are, they can come out behind you and you dont want to be too close, a seal bite can be very nasty and have lots of bacteria in their mouths that can cause a big infection.

    I lost a very good shot of a fight between 2 adult seals. If you see a seal approaching another one, and their heads are close to each other,  one of them will open its mouth that’s the beggining, put your camera on burst mode and do some manual focusing as you will see a fight that will only last for a few seconds.

    Always be mindful of the tide, if you think that the waves are getting closer and closer you are right. Usually the seals are on a spot higher than the tide, that means that if you are not careful you will end up on a little sand island surrounded by water that is rising, believe me I was stuck once and had to walk with water up to my knees hauling my gear, hence the wellies. Once you get home, clean your equipment right away, there will be sand between the extension part of your lenses and all around the buttons, even though the E-3 is weather sealed, clean this with an air brush as you dont want corrosion. For your bag, wait for the sand to dry and then shake all the sand off, there will be a lot of sand accumulated on the back area of the backpack that you wont see but once it dries it will come off rather easily. If you want to see the whole set of pictures visit my site at flickr here..
  • Saturday, July 11, 2009

    AIB Street Performance World Championship

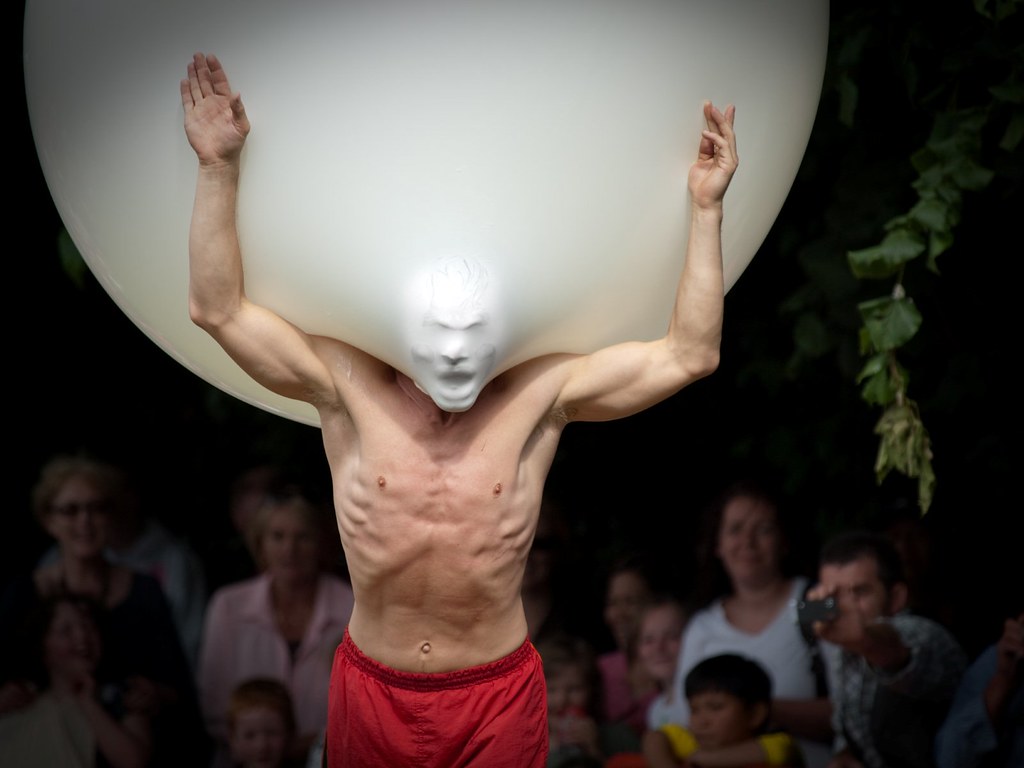
    During the month of June (18th to 21st) there is an event in Dublin at Merrion Square sponsored by AIB that brings together street performance from all over the world. You can visit their website here, and follow them on facebook as well.

    I didn't manage to get many shots but was able to get a couple of good pictures, here are some tips on the event if you want to try it next year .

    First of all bring a telephoto lens, unless you are looking for a specific shot a wide angle lense might not do you much help as the crowds, sun might make it hard to get a good photo.

    Plan in advance what you want to see, as for location, here is a good tip: get there early, is very crowded and not much space to move. Here is a piece of good advice, locate yourself in the corner of the park marked below, it has a grassy hill that people use as a seating area, if you get there early you will be able to get clear shots of the show. The green arrow shows the corner of Marrion square where you should be position yourself. Download the schedule and wait for the show you are interested to arrive there, across the 4 days all shows would have hit that single stage.

    image

    I was able to get clear shots of a couple of acts such as these:


    As always in Dublin, be prepare for the rain, the organizers will provide ponchos for the crowds to use as seat covers for the wet grass, but bring something for the camera.

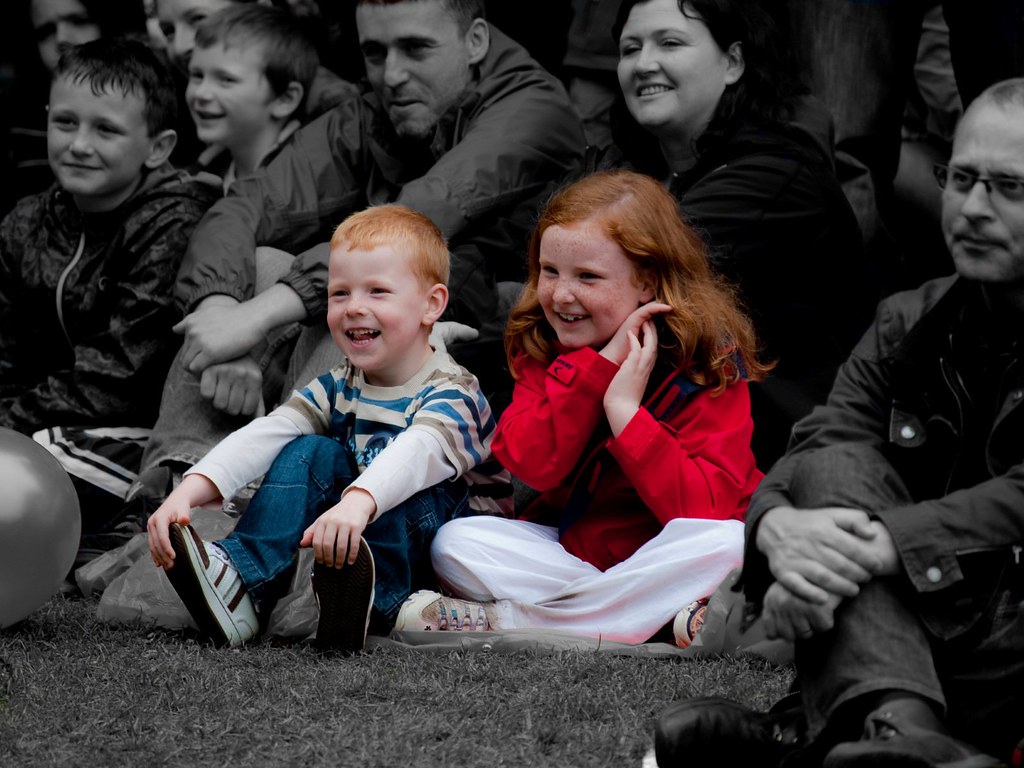
    Once the shows starts, crowds start to gather, pay attention not only to the performer but people’s reactions make for great candid shots.

    If you are interested on the whole photo set visit my site at flickr

    Wednesday, May 13, 2009

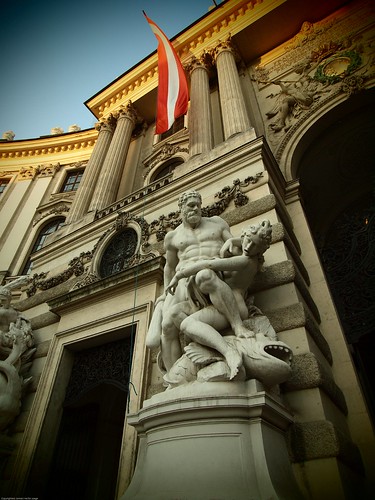
    Vienna photowalk

    A couple of weeks ago had the opportunity to spend a couple of days in Vienna and brought my equipment with me. Here is a list of my equipment for this occasion:

  • Olympus E3
  • Olympus E30
  • Olympus Flash FL-50R (Very useful while inside a Barn)
  • Sigma 30mm 1.4
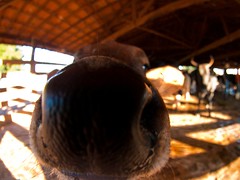
  • Zuiko 8mm 3.5 (great for cow and calf close-ups)
  • Zuiko 50-200mm 2.8
  • Zuiko Teleconverter 2X EC-20
  • Zuiko 11-22mm 2.8
  • ND Filters
  • Small Table top tripod
  • Hoya Polarizer Filters

    Most of the sites worth visiting in Vienna are contained within the city center and easy to get around either by walking or tram.

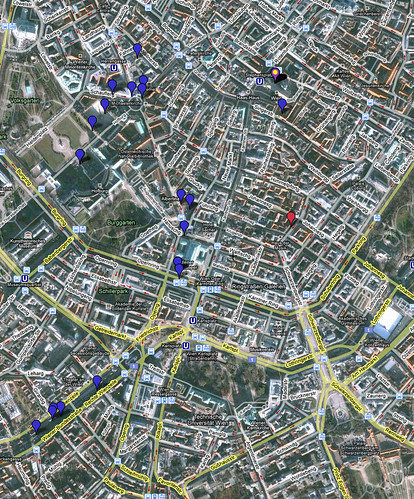
    Here is an overview of the walk by using my AMOD GPS tracker as well as GeoSetter for attaching  GPS coordinates for my Olympus Raw Files. One thing I have found out while traveling on old cities with narrow streets is that it will be common for the GPS to lose connection with the satellites, so make sure you adjust your settings to your Software accordingly to ensure that you tag the picture to the closest available tracking point.

  • Vienna Photowalk

    A good way to track the main sites to photograph is by using the Rick Steves guides for Europe, I always travel with one as the contain easy to follow maps as well as tips for avoiding crowds, using public transportation, etc.

    Some of the highlights of the city are:

    NaschtMarket:

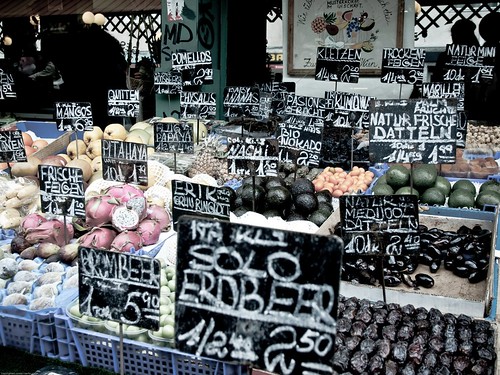
    Located between the left and right Wienzeile, the Naschmarkt extends from the Kettenbrückengasse to the Getreidemark, on an elevation to the Secession.

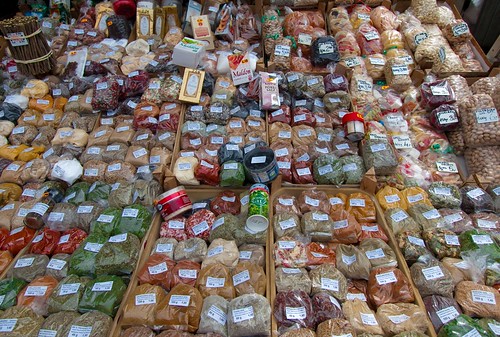
    Differently to as the name implies, there aren’t only sweets to buy at the Naschmarkt: Fresh fruit and vegetables from around the world, exotic spices, meat, fish and ecological foods are offered for sale on the colorful market stands. Early in the morning cooks and chefs already crowd around the market looking for fresh specialties. Later, after a Viennese breakfast in one of the numerous cafes, bars or delis located around the Naschmarkt, the "laymen" start their search for culinary treats. Delicacies from the Naschmarkt make a favorite gift with Vienna holiday-makers.

    Spices Sale on....????  

    On Saturdays you'll not only find delicious treats at the food market but also curiosities, old and beautiful things on the street market stalls adjacent to the Naschmarkt. The wares offered are completely mixed, for beautiful souvenirs it helps to be a skillful bargainer.

    There are great opportunities for those that also want to take candid pictures of people haggling (specially on the antiquities area at the end of the market), friends having breakfast and the intellectual crowd.

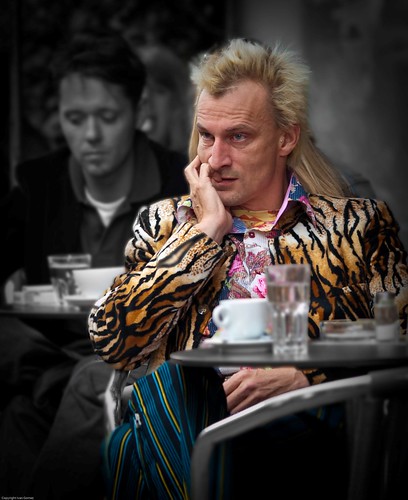
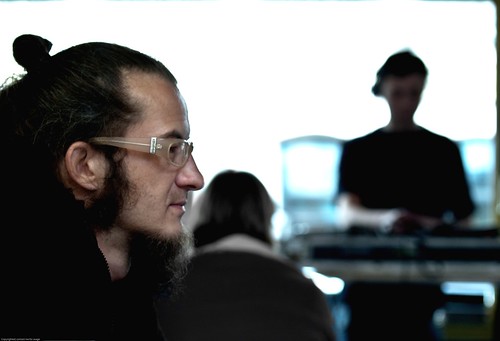
    A tiger in the Naschmarkt The dude and the DJ Lady @ the market

    Opera House and Concert Hall

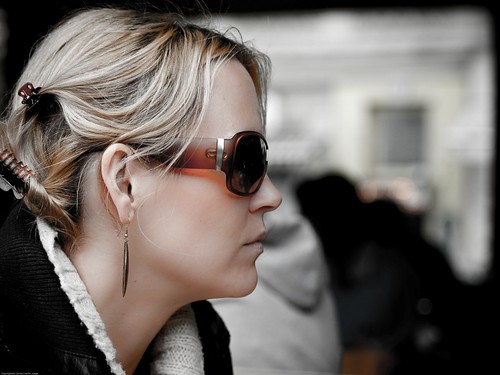
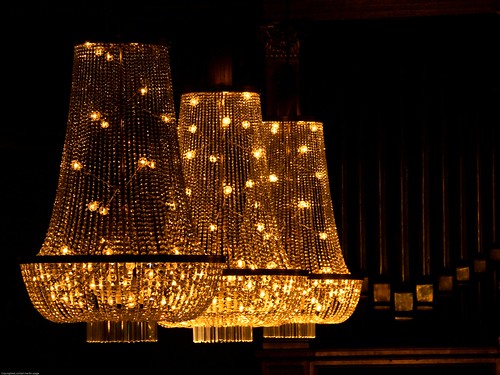
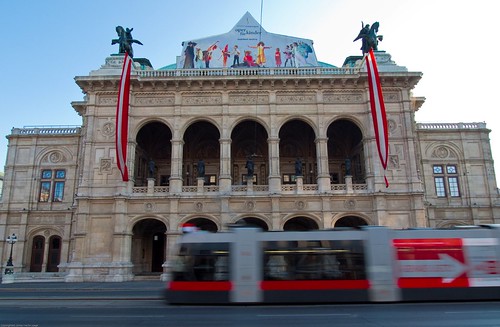
    Try to attend a music concert either on the Opera or the Music Concert Hall. Its allowed to bring your camera but not a tripod. You can see people dressed as in the times of Mozart. As well a both buildings have great architectural detail. Make sure to boost the ISO and bring a sharp lens

    CandelabrosOpera and Tram

    City Center

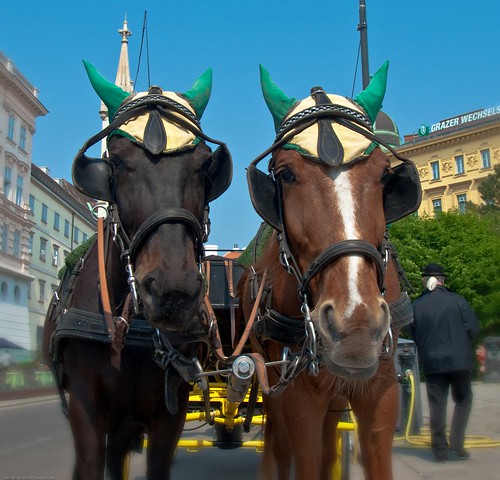
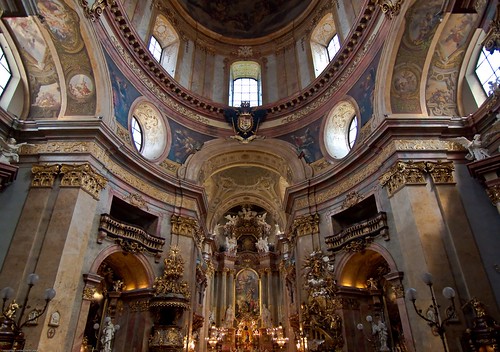
    Within the Opernring there are lots of opportunities to take advantage of the city architecture. Some examples are St Stephens Cathedral, Rathaus, State Opera, among others. It gets very crowded, what I ended up doing was getup at sunrise to take full advantage of the buildings without any crowds. You can check the sunrise and sunset times throughout the year for most cities in the world here.


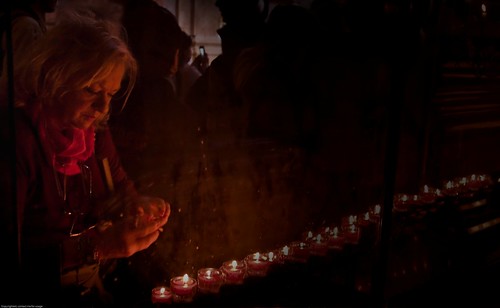
    Pointy little hats A prayer
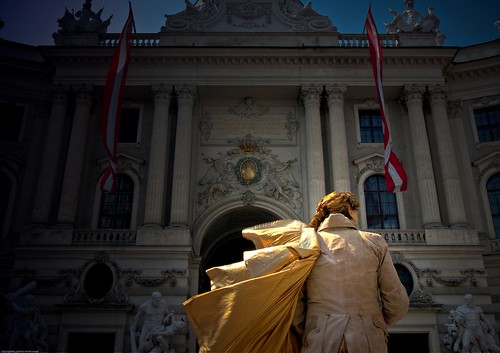
    P5019241 Golden Mozart
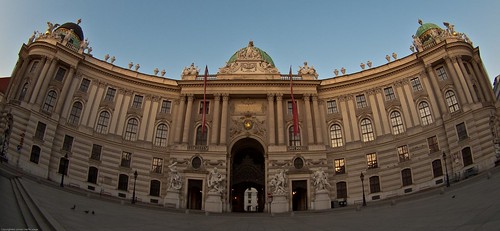
    Entrance to Vienna Austria

    Sunday, April 26, 2009

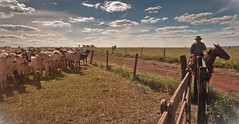
    Photoshoot near Quirianopolis, Goias, Brasil

    I managed to take a week off while in Sao Paulo to go visit the Fazenda Engenho São Francisco near Quirianopolis. Here are my tips and mistakes made while shooting pictures in a farm.

    Here is the equipment taken

    Here was my journey:

    image Ireland to Brasil
    Map picture
    then to Goiania and Quirinopolis in Goias State
     image


    Fazenda Engenho São Francisco  (click on the link and zoom in you can actually see the cattle)

    BTW for Olympus RAW file usage with GPS I recently discovered GeoSetter, great tool that can work with the .ORF files, write the .xmp card or directly into the file to accommodate GPS data. Highly recommended.


    Most Important tip…

    Always talk to the person that runs the place day in and day out. They will give you good tips around the behavior of some of animals, which ones are approachable, and which ones to be careful (I managed to piss off a cow with her calf and it wasn't pretty)

    Bola and cattle

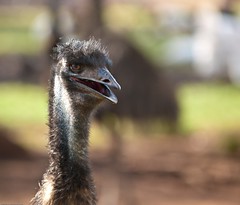
    Learn beforehand what kind of animals will you get to see (in my case was mostly cattle but managed a nice surprise to see exotic animals.

    Emu look

    For cattle, learn what type of cattle it is you will be seeing, behavior will change depending on the breed and how is managed by the ranch.

    The gang

    If you want cattle to get close to you, as I wanted a very low close-up shot of some grown cows or bulls you need to get into the containment area, get down or sit down on the floor and wait. Cattle can be very curious and only takes one to come closer, for the other ones to follow. Be very careful once they are close, sudden moves can make them jump (very high) and you don't want to get stomped or worse your equipment be crushed

    Courious calf

    Clothes: depending on where you are going, will vary your clothing, but regardless of weather bring very old dirty jeans. If you can manage some cheap boots do as well, as you have to be ready to step, kneel and sit on cow dong, piss and milk and dirt. Same goes for your camera bag, be ready for it to get dirty and gnawed by curious calves

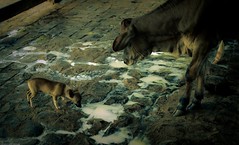
    Spilled milk

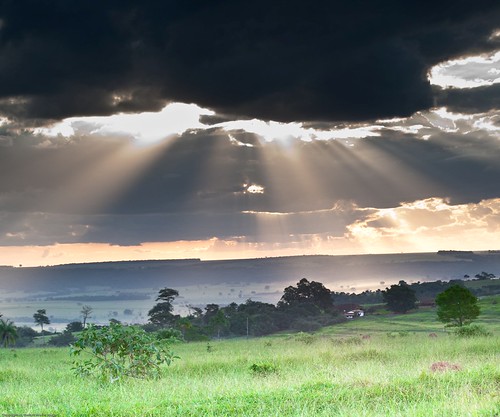
    Bring your equipment for landscape photography, either on hills or flat land ranches tend to be in open spaces and you can capture great sunsets, sunrises and cloud formations.

    Storm in Sta Cecilia

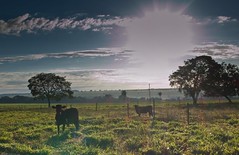
    Get up early, not only because of the great light during that time, farm work starts at 5am the animals are quite awake and is the time before a lot of the cattle is being driven to eat at the grass lands. Also in the case of Brasil is when you can manage best to carry all your equipment with the sun.

    Sunrise

    If you get to ride a horse: Taking pictures on top of a horse is not so hard if you: a) Have IS on your lense or the camera 2) Shoot either using manual or at least shutter priority mode. The faster the horse, the faster the shutter speed if you want sharp images.

    Find out what other ranches around the area you are visiting. We managed to visit a neighboring ranch that sells and raises exotic animals and manage to get great shots. They were very nice and let us walk inside the containment area and take our time on getting to know the animals and wait for the best shots.(So here is a free commercial  :) )

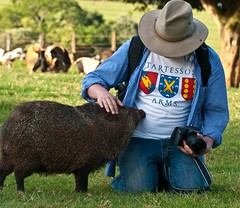
    Also depending on where you are you might manage to view animals not very common to your area, I was very intrigued by Pipoca a cateto pork which tend to be very mean, except him.

    Amigo Pipoca

    Missed opportunities:

    Some of the shots or things missed:

    Not all the cattle behaves the same, while buying and marking some recently purchased cattle, a bull wouldn't come into the containment area, 4 workers chase after him but he managed to jump a fence of at least 1.5 meters, it would have been a great shot.

    I should have brought my Manfrotto tripod I missed some good sunset and late opportunities because of not bring it. I have the 190X which is not too heavy but maybe I should invest on a gorillapod or at the very least a smaller tripod I can travel easier

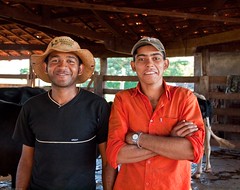
    I was so concentrated on the cattle, that I missed some good opportunities for portraits with the workers at the ranches. Brasilians tend to be very open on getting their picture taken and the clothes they wear are very distinct and interesting and could make great portrait subjects.

    Fazenda hands

    Same as above, make sure to take pictures for remembering the trip, take pictures with family and friends, not everything is about getting the best shot.

    See the rest of the shots here

    Wednesday, September 17, 2008

    Tips on...<Horse Racing>

    First thing to do is get yourself a race card.Apart from listing the horses and the riders it will also give you a map of the horse track and usually will display which areas of the race track are open to the public. Choose at least a couple of positions

    Locate the parade ring, winners enclosure and weighing rooms. These all provide great opportunities for shots of jockeys with or without the horses, the trainers, owners and members of the public.

    There is a lot of waiting between races, usually it can be as much as 30 mins within each race so bring some food and a book

    AS the horses canter down the center to start its a good time to take solo shots of horse and rider, as opposed to groups of galloping horses. This is the time to try panning, zooming and slow shutter speeds. Flash isn't allowed because it will scare the horses so slow sync flash is out of the question. Try putting some tape on your flash, just in case you have a mishap with the settings and you get booted out

    One way is to use shutter speed mode to freeze the action and doe some panning, another one is to set it up on Aperture Priority do matrix metering and adjust the ISO to allow a fast enough shutter speed to freeze the movement at your chosen aperture.

    Shutter speeds of 1/30 sec are slow enough to blur the action for artistic effects

    Using AF on continuous keeps the front runner sharp and barriers can help you frame the composition.

    A classic shot is to wait for the penultimate race, rush to the winning line to capture the horses as they past the post.

    del.icio.us Tags: ,,,

    Tuesday, September 9, 2008

    Motocross racing

    Motocross Racing

    One of the big advantage o this sport, is that you dont need special access to get close to the action, therefore a regular kit zoom can do most of the time to capture great images

    Every race usually comprises of a few practice sessions in the morning, followed by a race in the afternoon

    Focusing

    Getting sharp shots of fast moving motorcycles can be very difficult. AF mode is okay if you can keep the focus point positioned on the bike before you taker the shot, or if they are going slowly. In more difficult situations such as shooting the bikes head-on over jumps; its better to use manual focus to get sharp results at the top of the hill. This takes practice to get the hang of, but allows you to get shots that auto focus might find impossible

    Viewpoints

    Choosing the right viewpoint will make a massive difference to any sports and action shots. Rather than simply stand where you can see the action ,look for vantage points where the background doesnt detract from the main subject. For uncluttered backgrounds, try finding a spot where you can use the sky or track as a backdrop, to concentrate all the attention on the subject

    Protect your kit

    Even in good weather motocross bikes are going to send plenty of dirt mud and slut your way, so you need to protect your kit. A towel or dry cloth is handy for throwing over the camera while you are not using it, and also for wiping off any gobbets of first that end up on the body of the camera. In very bad conditions it might make sense to use an entire rain cover for the camera

    One good thing to do is to get familiar with curse, look at where the sun will beat the time of the race so that you dont get too many shots with the highlight of the sun on the bikers, also look after practice for the little canals that the riders leave behind, since they will tend to reuse those over and over when they hit a curve, you can choose a spot close to that as this will be an indication of where the riders will be going trough

    One good location is to choose a jump area, sit there and wait for the bikes to come into view, use Shutter Priority Mode or Manual, focus manually on the top of the rise and set your shutter speed to 1/1000 second. this should freeze the action on the jump

    Another good location as well is standing slightly above the track around the bends on the corners of the circuit. You can get away with using a smaller lens, 18-70mm as the riders will be much closer as well as they will be slowing down to take the curve, this viewpoint will provide you with a much better backdrop of the dirt. Here with the new speed of the bikes you can go down to 1/125 secs you could also use flash to help you freeze some of the movement.Also try your panning technique.


    Sunday, September 7, 2008

    Macro Photography

    Macro Photography

    Fruit and Veg

    With a vast array of wonderful colors available, fruit and veg can make a great macro subject. Arrange to create attractive graphical shapes and experiment with over and underexposed images

    Know your settings

    The quality of your close up photography will only be as good as your technical capabilities, so mastering these skills should be top priority. For more amateur shooters get acquainted with your cameras macro mode.

    Avoid cliches

    Use tour imagination and take note only the obvious shot but a range of images that show your subject in a new light. Changing your angle is the quickest way to avoid  an unimaginative shot

    World in focus

    The defining characteristic of a successful macro shot is razor sharp focus. A handy trick recommended by professionals is to try and compose your shot so that the camera boy is parallel to the length of the subject, This ensures all areas are of equal distance to the lens.

    Color

    If you want to achieve a level of deep saturation of the colors, use front lighting if you would like to bring out the texture of your subject, side lighting is the way to go

    In a flash

    Be careful when using flash for macro work. Most on board flash systems are too harsh for close up photography and you will bleach out your subject or cause glare. However when used carefully flash will enable you yo use a smaller aperture for greater depth of field and create shots with greater clarity.

    Light and color

    its easy to get carried away wit ha subjects form when looking for a close up opportunity and forget about light and color as compositional tools. You can find beautiful tones in the most unlikely of places

    Fill the frame

    When shooting macro you will need to decide upon the technique that will enable your subject to fill the frame adequately. Choose the right lens, zoom, wide angle, or macro. then think about composition

    Some simple rules

    Sharp focus is a mist. Shoot from the different angles to get more unique images. Think about color, composition and lighting always

    Dont rely on autofocusing, always try manual focusing. If you have Live View capabilities, its perfect here for macro work

    It is vital to get lighting exact when photographing in macro. If you want to avoid using a flash and are instead going to stick to ambient light sources, the opt for natural lighting first. This will involve the least amount of fuss. Its possible to setup a simple studio environment using your artificial lighting sources around  the hime, but you need to avoid using harsh light lamps that are difficult to angle in order to avoid unsightly shadows. One false move may result in an image needing hefty image editing post capture.

    Using your camera flash is a no-no

    More tips

    Lenses

    Its worth looking into purchasing a macro lens, if you own a DSLR.

    Steady shots

    If you are capturing macro images you will need to make sure that a sturdy tripod supports your camera. A minitripod might be a good idea that you can put on top of your table as a regular size tripod will push your camera away from the object

    Exposure tricks

    In order to achieve great exposure its a good trick to bracket your shots, Make sure that you take note of which image looks good and what setting you used

    Focus

    When using creative DOF take a good look at your subject. Pick an area that you want to highlight and concentrate your focus to this point If you are using a large aperture this will throw the rest out of focus

    Macro Subjects

    Everybody photographs flowers when trying out macro photography. A rose may look beautiful up close but so can everyday objects Be different and try to snap up ordinary in terms in a creative way

    Lighting

    Bring conditions will cast heavy shadows on your subject. Get rid of this by diffusing the light with tracing paper or a Last olite diffuser. If shooting outdoors you will get the best effects when its overcast

    Composition

    Try and be creative with your shooting angles. It will give you more scope for a macro shots with punch. If you can place your objects on a glass surface, you can capture your shot from underneath

    Out of the ordinary

    Concentrate on making your object look out of the ordinary. If you can take a common subject and capture it making your audience look twice, then you know you have succeeded

    Lens shift

    Don't get addicted to using the same lens and the same setup. Change your setup now and see if you can capture the same object with a different effect

    Experiment

    Some of the best images come from experimentation. You might want to tweak your composition, exposure and lighting to capture a shot with a macro pizzazz

    The kitchen is a good place to start, as there is so much scope for interesting textures and shapes. Take a look at the latest supermarket advertising campaigns or sit in a high street coffee bar and you will see that is  very fashionable  to capture close ups of food and in your home. The key to creating a great macros till life is to keep your shots simple. Try out macro effects on unusual objects such as cross sections of fruit or cutlery/ Don’t try and capture elaborate images, as you will detract the attention away from your subject. Remember its important to keep background as clean cut and fuss free as possible, by using a white cloth or piece of card in the background. You will then be able to clean up your shots easily in your image editing software program.


    Closer to Home (Macro)

    Closer to Home (Macro)

    Everyday objects around the home offer plenty of potential for interesting close ups, the key is to keep your eyes open for the possibilities of colors, textures and shapes. Even if you run out of ideas for photographing objects in your home, it is possible to bring interesting objects from outdoors for still life shooting

    Consider investing on a mini tripod that will allow you to get closer to your objects, a larger tripod my interfere with the table

    Creating a table top studio

    • A sturdy table
    • A white sheet or selection of large colored cards
    • A minimum of two, but ideally three or four separate lamps
    • Small pieces of card
    • Tin foil
    • Two objects large enough to prop up the card or sheets
    • A tripod

    Setting up your studio

    • Lay a well ironed sheet or large piece of card over a table and prop the rear end up so it falls in a curve. Position the object you want photograph in the center of the table and change your lamps in such a position to eliminate any unruly shadows.
    • If you have more than 2 lamps this should be easier In a professional studio darker shadows are field with the use of reflectors.
    • You can use your cards wrapped with tin foils to create reflectors.

    Try using a water spray bottle to add fine droplets to the petals and leaves. By photographing at such a close proximity to the subject you may capture some nice reflections.

    The most everyday or mundane subjects can turn into  inspirational photos if you capture their details in abstract.

    By learning to view the world around you in terms of its various patterns, colours and textures rather than the nature of the subject matter itself, you will undoubtedly discover a whole new world of photographic opportunities lurking in even the most unexpected places


    del.icio.us Tags: ,,,

    Friday, August 29, 2008

    Tip on... Hostile climates
    Here are some tips when going to extremes in relation to climate

    For cold temperatures

    Batteries dont like cold weather. If you look at your camera manual you will usually see 2 different sets of values for battery life, one for normal conditions and another one for freezing point. Usually battery life is reduce by half on near freezing temperatures. For example the Canon EOS 400D battery can take 500 shots at 23degrees centigrade but only 370 at 0 degrees.

    One good tip is to keep your battery inside your coat, this way it can use your body's temperature.

    Another concern in some cameras are leaf shutters on traditional large format cameras where the lubricants have become viscous in low temperatures. Some plastics can become brittle, and while not a problem for camera, it could be for accessories

    When taking pictures in the snow and things like skiing or snowboarding there shouldn't be a problem with the snow if it remains frozen, problem is when you move indoors. This water could sip into the lens joints and other areas. So be careful of wiping your camera before you go indoors or putting it inside your coat.

    Condensation can also be a big problem. At best it is a nuisance. the lens becomes misted up and the camera body become damp. At worth though the condensation may penetrate the camera and damage the electronic if the camera is stored damp, cause mould and fungus to appear

    What you need to do is put the camera away in a bag or case before you bring it indoors, and then let it warm up naturally for an hour or so before opening up the bag, it doesn't have to be airtight because there is no pressure difference, you are simply preventing the warm air from circulating around cold equipment

    For hot weather

    When it comes to the sun, cameras are pretty hardy the only big nuisance is that the black plastic on which cameras are built, attract the hear, which could cause your camera to become so hot that it cannot be operated for a few minutes.

    For hot weather your worst enemies are moisture and dust

    Sand is a real killer when it comes to lenese, any grit can lock up a precise and delicate mechanism of the camera and or lens

    This is critical when trying to exchange lens in the middle of a dusty environment. If you have to, you should turn away from the wind, and face the camera downwards to minimize the risk of particles getting into the camera body.

    In some environments, fine dust particles are suspended in the air and will enter the camera body even if perfectly still conditions.

    Never put your camera away damp.

    Wednesday, August 27, 2008

    Portraits and Festivals

    Portraits and Festivals

    • Language barriers can be overcome with a good phrase book
    • Show the peopel you just captured their image on the LCD screen
    • Children are especially eager to become the start of the screen
    • Make sure to know the settings on your camera, dont waste any time fiddling with your camera while trying to take somebody's picture
    • Getting the right background is key to a successful portrait, make sure you dont include clutter that could take away from the focus point of the person
    • Fill the frame as much as you can with your subjects face and ensure the best angle of light casts evenly across your subject. Using a wide aperture of f2 of f5.6 will throw the background out of focus to flatter the main subject
    • If you are unable to gain eye contact with your portrait subject, then candid shots can prove just as effective
    • Using wide angle lenses enables this to be captured on camera -the person will remain the central focus, but the details of what is going around him or her will add a story to the scene somewhat verging on the photojournalist style, and will lend human impact to your pictures

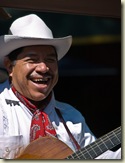
    Singer

    Exotic Landscapes

    Tricks of the light

    • If you are traveling anywhere near the coast or desert, the exotic idyll of white sands and turquoise skies although photogenic will present the photographer with a multitude of hazards. They key is to be aware of the suns position.
    • In locations where cloud cover is sparse, intense sunlight will be detrimental to the level of detail in your image.
    • Adjust EV compensation up by one or two stops, or use exposure bracketing to cover yourself against inaccurate metering in tricky lighting scenarios
    • Early morning light is perfect for highlighting contours and textural formations of a deser landscape, emphasized even more by a low shooting position and wide angle lens
    • The low position of the sun and quality of natural light later in the day will give shots an atmospheric appearance, casting long shadows and adding depth to scenes such as rock formations and layered landscapes. Landscapes will also take on a warmer color tone at the beginning and end of the day, compared with the cool blue cast of midday

    Wide Open

    • A standard wide angle lens at 35mm equivalent focal lent of 43-60mm or a super wide angle lens of 24-42mm will work to capture every last detail while making the most of the sjy and foreground
    • Place the horizon in your frame according to the interest that the sky and foreground each hold - they must wor kwell together or not at all-

    For coastal areas

    • Using fast shutter speeds higher than 1/250 secs will freezse the motion of waves and sea spray. In contrast, slow shutter speeds of less than half a second will blur the water and soften the scene. If this is where your traveling interest lues then the addition of a polarizing filter to your kit bag will help you improving the color and contrast of your images, and will reduce the glare caused by reflection. A tripod is a most on all of this situations
    • The inclusion of a human element into a typical landscape photograph can give a striking sense of scale to a place. Focus your lens on the person in the frame, but employ a wide aperture to ensure sharpness from front to back.

    del.icio.us Tags: ,,,

    Monday, August 25, 2008

    Tips on...<Dragonflies>

    • Monitor how a dragonflie behave, they stop once in a while to catch sun rays, so check weather to see if it will be sunny that day
    • Dragonflies react to movement, look for a sunny spot on a flower and wait motionless, they will get close to the camera that way.
    • Late afternoon is the best time, as well as an abscence of wind
    • Use a macro lense makes sense but also an extension tube could be necesary
    • Manual focus is the way to go.
    • Pre-focus manually and move the camera to and from the subject.
    • Shutter Speeds at 1/80 with a 50 mm lense and ISO 400
    • Bring insect repellent for mosquitoes
    • Infrared beams can help to cut down on the wait
    • Set the camera to burst mode as well.Expect a low success rate, a professional gets 1 out of 30 shots.

    Tips on...<Cricket>

    • Bring a tripod and teleconverters if available
    • Start by setting the lense first, then the converter, then the camera
    • A tripod makes sense as cricket has a lot of stops on the game, and gives you the ability to move around
    • Positioning parallel to the wicket will allow you to get some cool blur shots of the crowd
    • If playing Twenty20 then you get the advantage of having color uniforms and colored wickets which make it easier to stand out
    • Depending on where you are positioned, spend some time with each type of player hoping they make a play, spend some time on the bowler, the batsman or hoping a fielder makes a catch
    • Some great and classic shots are of those at focusing at the wicket, the batter gets bowled and wait for the bails to fly out up in the air.
    • Arrive early on the game, a tripod or monopod should be required.
    • Pay attention to the background as there will be lots of crowds and make sure the color doesnt interfere or makes the focal point gets lost
    • Be ready for every ball. there is nothing worse than missing a ball and realizing it would hae the best shot of the day.
    • Concentrate and try to anticipate what is going to happen. If the batsmen are runing quickly between the wickets then try focusing on the wicketkeeper in case there is a run out. If the ball is hit high in the air try to get a photograph of the ball being caught or dropped by the fielder
    • You will need a long lens for cricket. A 400mm is probably the shortest lens that u can get away with. The action will always be 60 to 80 yards away/ Converters are a cheaper way to get this done
    • Look around you, there might be a good picture away from the field. Children watching, old men sleeping, people in the scoreboard.

    Tips on...<SportPhotography>

    Right Kit

    • Get the lense with the widest aperture you can find to be able to shot in low light
    • Your DSRL should have a good burst mode measured in frames per second
    • Monopod makes sense for certain sports, otherwise it would limit yoour mobility on the field

    Know the climate

    • If you are going to cold weather, keep your batteries warm to maintain battery life, having them on your pocket close to your body is a good idea
    • If too hot, bring water and sun screen, also if your bag has some deflective material use it to try to keep your equipment cool

    Tell a story

    • Usually everybody focuses on an sporting event on the usual shots of the man of the match, the goal, the save and the victory, step out of the euphoria and focus on the losing team, defeat, frame their reaction against the celebrations, this will make you stand out from the crowd

    Stay alert

    • Dont stop shooting after the action stops. Resist the temptation to start looking at your LCD screen, lots of humourus, interesting pictures can be taken when the play stops

    White water

    • Scout the route before hand, spot the best location, try and do it while other people are practicing to see the difficulty levels.
    • Practice on your local water sports center
    • Bring a fast telephoto.

    Keep your eye on the ball

    • If the sport includes some sort of object such as ball, javelin, or other try to shoot it in the context of the player, sports person to show some context
    • Try to predict the shot, prefocus on that area to get the shot.
    • In some events youy might have to trade off and shoot in JPG to ensure you can get enough shots of the action on those long burst

    Know your sport

    • Learn the sport you are shooting, this will tell you where to locate on the field, when to change position, and when the dynamics of the game could change

    Photograph spectators

    • Capture the enthusiasm of people on the bleachers
    • Look for die-hard fans dressed up for the match
    • Dont forget to check the crowd's reaction at key moments on the game

    Invoke a response

    • Once you are mastering the technical aspects, but ensure you are ensuring your shots are creating an emotion on the viewer

    Tips on... <Fire>

    del.icio.us Tags: ,,,,

    Basic Settings

    Focus can be very tricky, one trick is to use an item close to the flame and focus on that

    Use a small aperture to widen DOF and capture as much detail as possible

    You can get away doing that hand holding the camera, but is much easier using a tripod

    Keep it simple

    In terms of composition its best to keep things uncluttered. The shadows cast by flames ca be a little difficult to counteract., and more objects in your shot will create more shadoes

    The glow from candles and log fires can be invitating, so enhance this with a few props.

    Including candles on a shot convey warmth, home feelings.Make sure to enhance this feeling with eartly materials like fruits, colors,etc

    A good setting for this type of environment is f 5.6 and a shutter of 1./200 to begin with

    Reflectors

    Look for natuarally relflective materials in your surrounding environment. For example if you are taking a portrait of somebody on a table with a candle, adding a white tablecloth will increase the light that bounces back, difussing the hard shadows that can sometimes happen

    Temperature

    When shooting photos by candleliht be aware of the color temperatyre of the light they yield, so you can end up with the most accurate WB. A match flame burns at 1,700 degrees Kelvin, candlelight at 1,850.

    Include night skies

    If you are shooting outside using a wide angle lense to include some sky can yield interesting results. If you are workign 1hr before sunset you will see a good contrast of the deep blue sky and the orange of the flame. If you are doing late at night, this can cause an interesting red fiery sky.

    Adding more light

    If your setup looks a little bit dim, introduce artifical light, but try to avoud flash as it could ruin the warmth feeling of yout fire source. Try adding a small lamp that can be dimmed or a torch lioght that can be focused to certain areas of the exposure

    Fire placement

    Unless you want to create silhouttes you will need to place your source close to your camera, but putting it below the eye line it will create a spooky scene. Moving the light source close to the face at eye level will create a more smooth soften even light on the face

    Occupational fire photos

    A good opportunity to take advantage of fire, are jobs that work wih fire, such s a blacksmith or welder.

    If you want to get shots of welding , setup the shoot before the welding commences, prefocusing on the work area, use a tripod.

    Sunday, August 24, 2008

    Tips on...Capturing DJ's at work (Dance club)

    • Include lost of subjects (A bouncer, bar staff, dancers, crowds and DJ's) fast food vendors outside.
    • Use an off-camera flash this will give you better directional control over the shadows.
    • Shooting people dancing
      • Each nightclub will have different lighting setups so there are no hard rules around this, here are some tips
      • Set your flash to manual sync at around 1/60 with an f 6.3. This works well when shooting a meter away from the crowd
      • From a longer distance, set aperture to f5.
      • For wide angle crowd shots raise ISO to 800 set to f5 and change the flash to sync to 1/30
    • Your pictures on a dance club should reflect movement and be dynamic, play with the flash setting to show light trails
    • Also your settings will be different on the dance floor from the DJ Booth. Remember if using flash the light will bounce now from the ceiling.
    • Shoot light trails, if you are shooting a dance club include movement on the shots by using longer exposures to add light trails. Use first curtain sync to freeze the image, after the flash try either rotating or moving the camera or zooming out to add some great colored motion

    Friday, August 22, 2008

    Tips on...<Classic Cars>

    What to take

    • Camera and a 70-200 telephoto lense (or close to that range)
    • Walking boots and hat
    • Food and Water
    • Sun block
    • Get a program to assess the circuit

    Tips

    • Approach static classic car as you would human portraits. Use a zoom lens and an aperture of around 5.6 or 8 to throw the background out of focus and keep the car the focal point
    • Shooting from a low angle adds impact
    • Soft clouds make give smoother shadows and texture to the metal shapes and curves while early lighting is much more flattering than the light of midday
    • The small details on a classic car are often exquisite. Bonnet mascots, dashboards, lights and bodywork curves are all great reasons to bring a macro lense. Use an aperture of f/8 at close quarters to give a smooth out-of-focus background, while keeping the main subject sharp.
    • Be aware of people wondering in the shot, unwanted reflections can ruin a great composition
    • If there are some racing involved, get early to the pits to get shots of mechanics these make for great B&W shots,
    • Also on racing, get to the circuit early and keep an eye on the sun direction (be prepared to move around as the sun does)
    • Pack enough memory cards to really practice that panning technique and vary shutter speeds between 1/1250 secs and 1/500 secs depending on the speed of the car.
    • For dealing with crowds a good trick is to work with them, bring a tripod with a shutter speed of 2 secs and at f/22 will make the car stand out from the blur of the crowd
    • Ensure you take pictures of clean cars, they are much more photogenic that even the midly dirty ones.
    • Shoot details early in the day before dust and fingerprints appear
    • Get to know the owner they might be open to the idea of a separate photo shoot later, outside of the event
    • Understand what you are shooting, do your homework and get to know the famous or historically important cars seek out rare cars as your pictures can make it part of historical records
    • Work with available light, early morning light is very flattering for the metal on the car.
    • A cloudy day with a touch of fill-in flash is preferable to direct sunshine.
    • Fill in the frame with color and detail. Simple frame filling shots are often the most striking. Concentrate on one detail, color or shape, with classic cars most details are exquisite and well worth a shot)
    • Take care when shooting reflections -look for shapes and textures reflected in shiny paintwork and mirrors

    Be aware of reflections

    image

    Focus on the details

    image

    image

    Places I've shot in