Showing posts with label backpack. Show all posts

Wednesday, May 13, 2009

Vienna photowalk

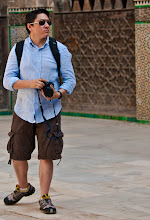
A couple of weeks ago had the opportunity to spend a couple of days in Vienna and brought my equipment with me. Here is a list of my equipment for this occasion:

  • Olympus E3
  • Olympus E30
  • Olympus Flash FL-50R (Very useful while inside a Barn)
  • Sigma 30mm 1.4
  • Zuiko 8mm 3.5 (great for cow and calf close-ups)
  • Zuiko 50-200mm 2.8
  • Zuiko Teleconverter 2X EC-20
  • Zuiko 11-22mm 2.8
  • ND Filters
  • Small Table top tripod
  • Hoya Polarizer Filters

    Most of the sites worth visiting in Vienna are contained within the city center and easy to get around either by walking or tram.

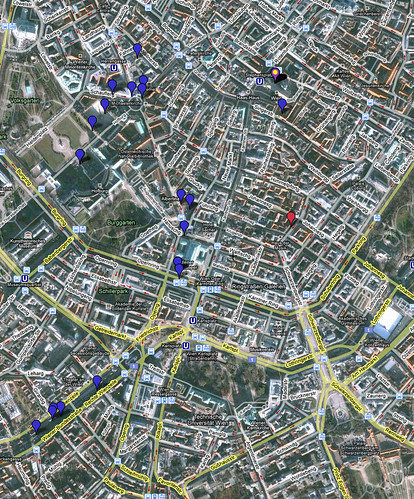
    Here is an overview of the walk by using my AMOD GPS tracker as well as GeoSetter for attaching  GPS coordinates for my Olympus Raw Files. One thing I have found out while traveling on old cities with narrow streets is that it will be common for the GPS to lose connection with the satellites, so make sure you adjust your settings to your Software accordingly to ensure that you tag the picture to the closest available tracking point.

  • Vienna Photowalk

    A good way to track the main sites to photograph is by using the Rick Steves guides for Europe, I always travel with one as the contain easy to follow maps as well as tips for avoiding crowds, using public transportation, etc.

    Some of the highlights of the city are:
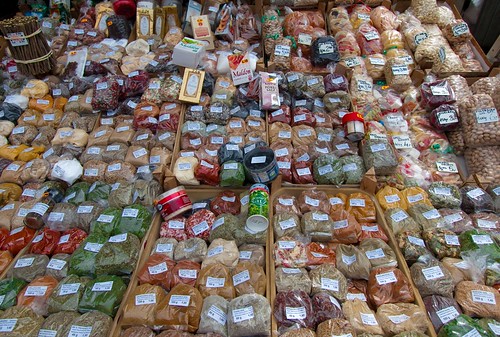
    NaschtMarket:

    Located between the left and right Wienzeile, the Naschmarkt extends from the Kettenbrückengasse to the Getreidemark, on an elevation to the Secession.

    Differently to as the name implies, there aren’t only sweets to buy at the Naschmarkt: Fresh fruit and vegetables from around the world, exotic spices, meat, fish and ecological foods are offered for sale on the colorful market stands. Early in the morning cooks and chefs already crowd around the market looking for fresh specialties. Later, after a Viennese breakfast in one of the numerous cafes, bars or delis located around the Naschmarkt, the "laymen" start their search for culinary treats. Delicacies from the Naschmarkt make a favorite gift with Vienna holiday-makers.

    Spices Sale on....????  

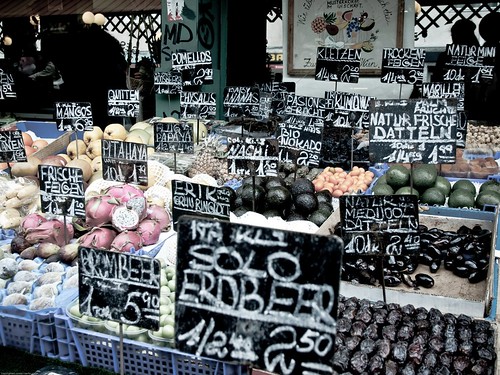
    On Saturdays you'll not only find delicious treats at the food market but also curiosities, old and beautiful things on the street market stalls adjacent to the Naschmarkt. The wares offered are completely mixed, for beautiful souvenirs it helps to be a skillful bargainer.

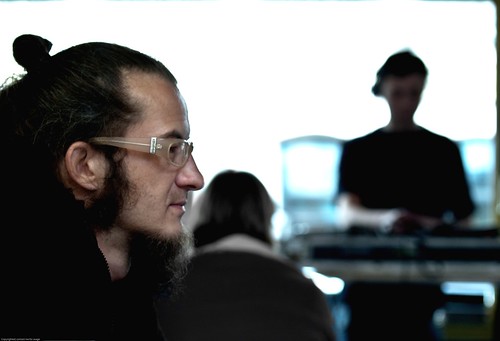
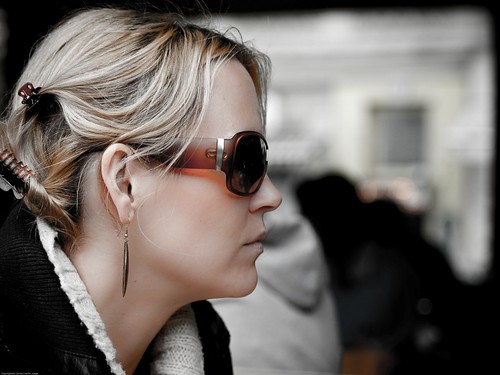
    There are great opportunities for those that also want to take candid pictures of people haggling (specially on the antiquities area at the end of the market), friends having breakfast and the intellectual crowd.

    A tiger in the Naschmarkt The dude and the DJ Lady @ the market

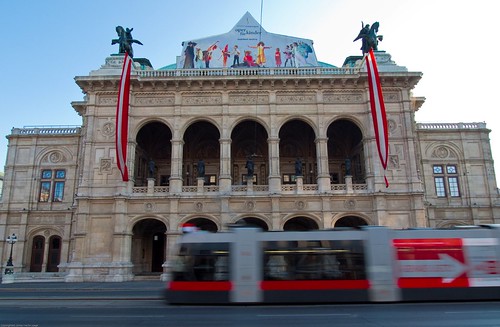
    Opera House and Concert Hall

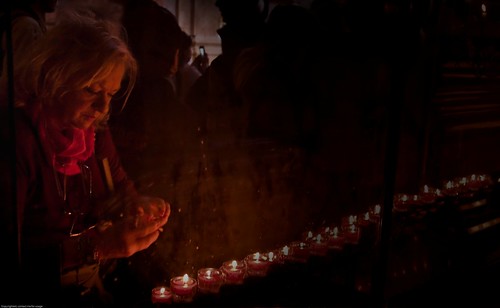
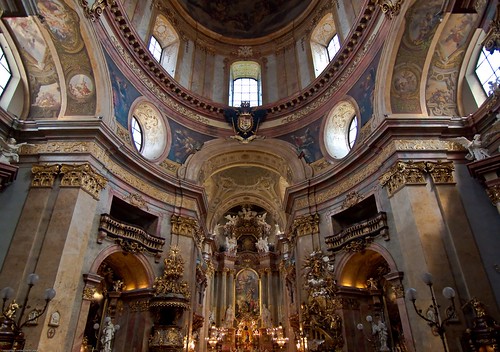
    Try to attend a music concert either on the Opera or the Music Concert Hall. Its allowed to bring your camera but not a tripod. You can see people dressed as in the times of Mozart. As well a both buildings have great architectural detail. Make sure to boost the ISO and bring a sharp lens
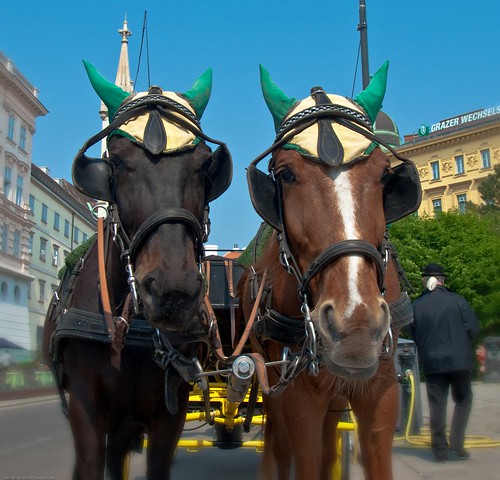
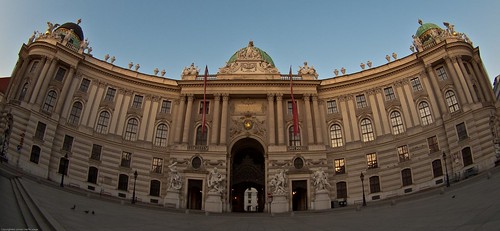
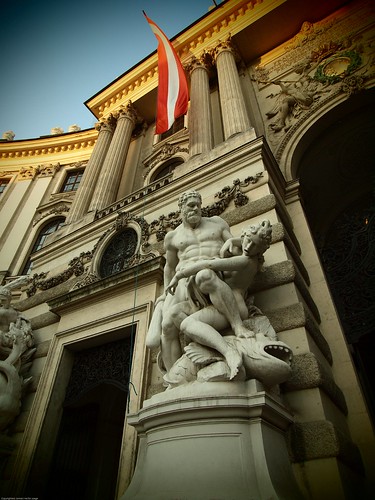
    CandelabrosOpera and Tram

    City Center

    Within the Opernring there are lots of opportunities to take advantage of the city architecture. Some examples are St Stephens Cathedral, Rathaus, State Opera, among others. It gets very crowded, what I ended up doing was getup at sunrise to take full advantage of the buildings without any crowds. You can check the sunrise and sunset times throughout the year for most cities in the world here.


    Pointy little hats A prayer
    P5019241 Golden Mozart
    Entrance to Vienna Austria

    Tuesday, September 2, 2008

    The Best Camera Bag Ever...

    Think Tank Rotation 360

    Think Tank is a company that makes photo accessories focusing more on bags, cases and they proud themselves by being the brand that a lot of professionals use. A lot of their bag designs take into consideration input from professionals either sports photography, nature, etc. I will tell you right now, that they are pricey, very pricey but as you will see in my view they are worth the $$.

    They have a lot of models for carrying on the field, bags for transporting equipment on airports, etc. I wasn't specifically looking for another bag, but the Rotation 360 caught my eye.

    The bag is a very comfortable backpack which it also has a waist buckle. This becomes a deep "fanny" bag that rotates by detaching itself from the main body of the backpack. This rotational bag is very deep and can hold a lot of stuff. You can put lenses, batteries, filters without having to remove it, making access to your equipment much, much easier, better and more comfortable that a slingshot concept. The other major differential for this bag is that it can be enhanced with different attachment containers that can be used to stored extra lenses, filters, etc. I bought an expandable digital holster that can be attached to the bag belt. There are other minor features that are great, the construction is outstanding (zippers, Velcro, etc) other than that is a common backpack.

    Setting up the bag

    The camera has some features that require some setup, but they are great.

    Camera strap: The bag comes with a special camera strap. So in order to use the camera support strap on your back pack, you need to use their camera strap. The camera strap is comfortable, it has some rings that allows you to attach it to the backpack for support.

    Camera Support Strap: These are a set of 2 snap clips that go into the shoulder straps in the bag, this takes 2 minutes to setup.

    Attaching One Camera: Basically you put your camera around your neck, use the snap clips on the backpack to clip to the rings on the camera strap. This allows your camera not to hang, or jump around giving your hands some freedom of movement.

    Attaching 2 cameras: Same approach as before, you can attach one camera a single support strap on one side, and another camera on the other.

    Hold down strap: the camera also comes with a strap that can be attached to the buckles on the shoulder straps. This long lens strap joins the shoulder straps together so when your camera is hanging on your chest you put this hold down strap over the camera forcing the lens to point downwards.

    Loading the bag.

    The bag can hold A LOT of equipment. Here is a list of what I was able to carry:

    Top part:

    After arranging the strong velcro dividers here is what I was able to put in:

    Olympus E3 Flash FR-36 2.0X Teleconverter
    Energizer Batteries Set of Filters (Polarizer different sizes) Zuiko 50-200mm 2.8 lens
      IMGP1100  

    Front Bag

    Cokin ND filters ND filter attachment rings Storm Jacket
         

    Rotation Bag

    Olympus 410 with 8mm Fish eye lens attached Sigma 30mm lens Zuiko 11-22mm lens
    3 Tripod quick release plates Camera Batteries 2 pouches with memory cards
    IMGP1106   IMGP1107

    The camera has a rain cover that wraps the entire backpack around, and finally you can comfortable set a tripod with a buckle on top of the bag and using the net pocket at the bottom of the bag.

    Now, I didn’t use the expandable holster which can fit my

    Sigma 50-500mm.

    I did not manage to fill up the bag, specially the top part, which could fit still a lot more small stuff like cable release, levels, etc.

    IMGP1105

    Hauling the bag around

    The bag is very comfortable to carry around. I took it out of for a 3 hour spin and my back or shoulders felt great. Obviously the best thing is the waist bag. Here is how it works:

    Once you have de attached the bag buckles that holds it in place, you need to pull this strap from the bag waist belt which shifts a velcro IMGP1109 mechanism in place inside the bag. This allows the free motion around the waist allowing the bag to rotate to the front. Once you have done this, you have free access to the waist bag that opens with a zipper. You can use this bag for easy access to reach lenses, another camera body, batteries, etc.  In order to put it back you just need to pull this lock strap again to the lock position (this makes the velcro inside the body bag to appear again) and push the waist back with the handles back into position "shake it" a couple of times so the velcro attaches again, and you are good to go.

    The only thing missing from this bag is the capability to carry a small laptop, but overall is the most comfortable, better built camera I own. Is great for long photo walks, nature and hauling equipment for any event.

    del.icio.us Tags: ,,,

    Monday, August 4, 2008

    Camera Back Pack Reviews

    Other than my camera and lenses, I have spent the most time researching and buying camera bags and equipment storage. Here are my 2 cents on some of the bags I own..

    National Explorer NG 5162

    Construction is very nice, the best thing about this bag is its versatility. I have been able to fit an E-3, the Sigma (Bigma) 500mm, the 2.8 50-200mm Zuiko and my E-410 with the wide angle lens. On top of that on the back it has space for a laptop. It says it can fit a 17" laptop but is very very tight. I was able to fit a 17" Lenovo. Lots of pockets to put all your other stuff and a nice feature is that it has a top compartment that you can remove the bottom and connect to the camera storage area. Its very good for carrying a small tripod on the side (I carry a Manfrotto 190X). Downside is that it can become very heavy and in order to access your equipment you have remove your bag, put it on the ground and access your equipment. Very good for travel on an airplane as well.
    IMGP1056
    Lowepro Slingshot 300
    Very nice for small treks and city walks, it has a ton of space. Was able to fit the same or more equipment than in the NG but without the laptop. Problem is it can become very heavy and problematic for your back as the entire weight is being carried on a single shoulder. Is great for quick access to cameras. I sometimes carry my 2 cameras, hang my E-3 around my neck and leave the 410 for wide angle shots inside the slingshot
    IMGP1051
    Lowepro Fastpack 350
    This is by far the best compromise between the slingshot and the NG. It can fit at ton of stuff, Both my camera bodies with their lenses and an extra equipment. It can also fit a laptop, I have carried a Lenovo 17" with it. Is carried as a backpack but it allows the same quick access that the slingshot offers. I have had this bag for 4 weeks and is great to travel and carry around. Only piece missing is a good spot to hang a tripod.
    IMGP1053
    Storm Case Im2500
    This is where I keep my equipment at home, the one I dont use very often or that is not readily store on my Fastpack. Is great for keeping your equipment out of the dust, lots of space and you can buy accessories. It comes out of the box with the foam that can be shaped for fitting tightly with your equipment or with the Velcro dividers that are also customizable. Also other accesories can be purchased for the inslide lid. This is great for home storage or to move all your equipment in one go.
    IMGP1055

    Places I've shot in