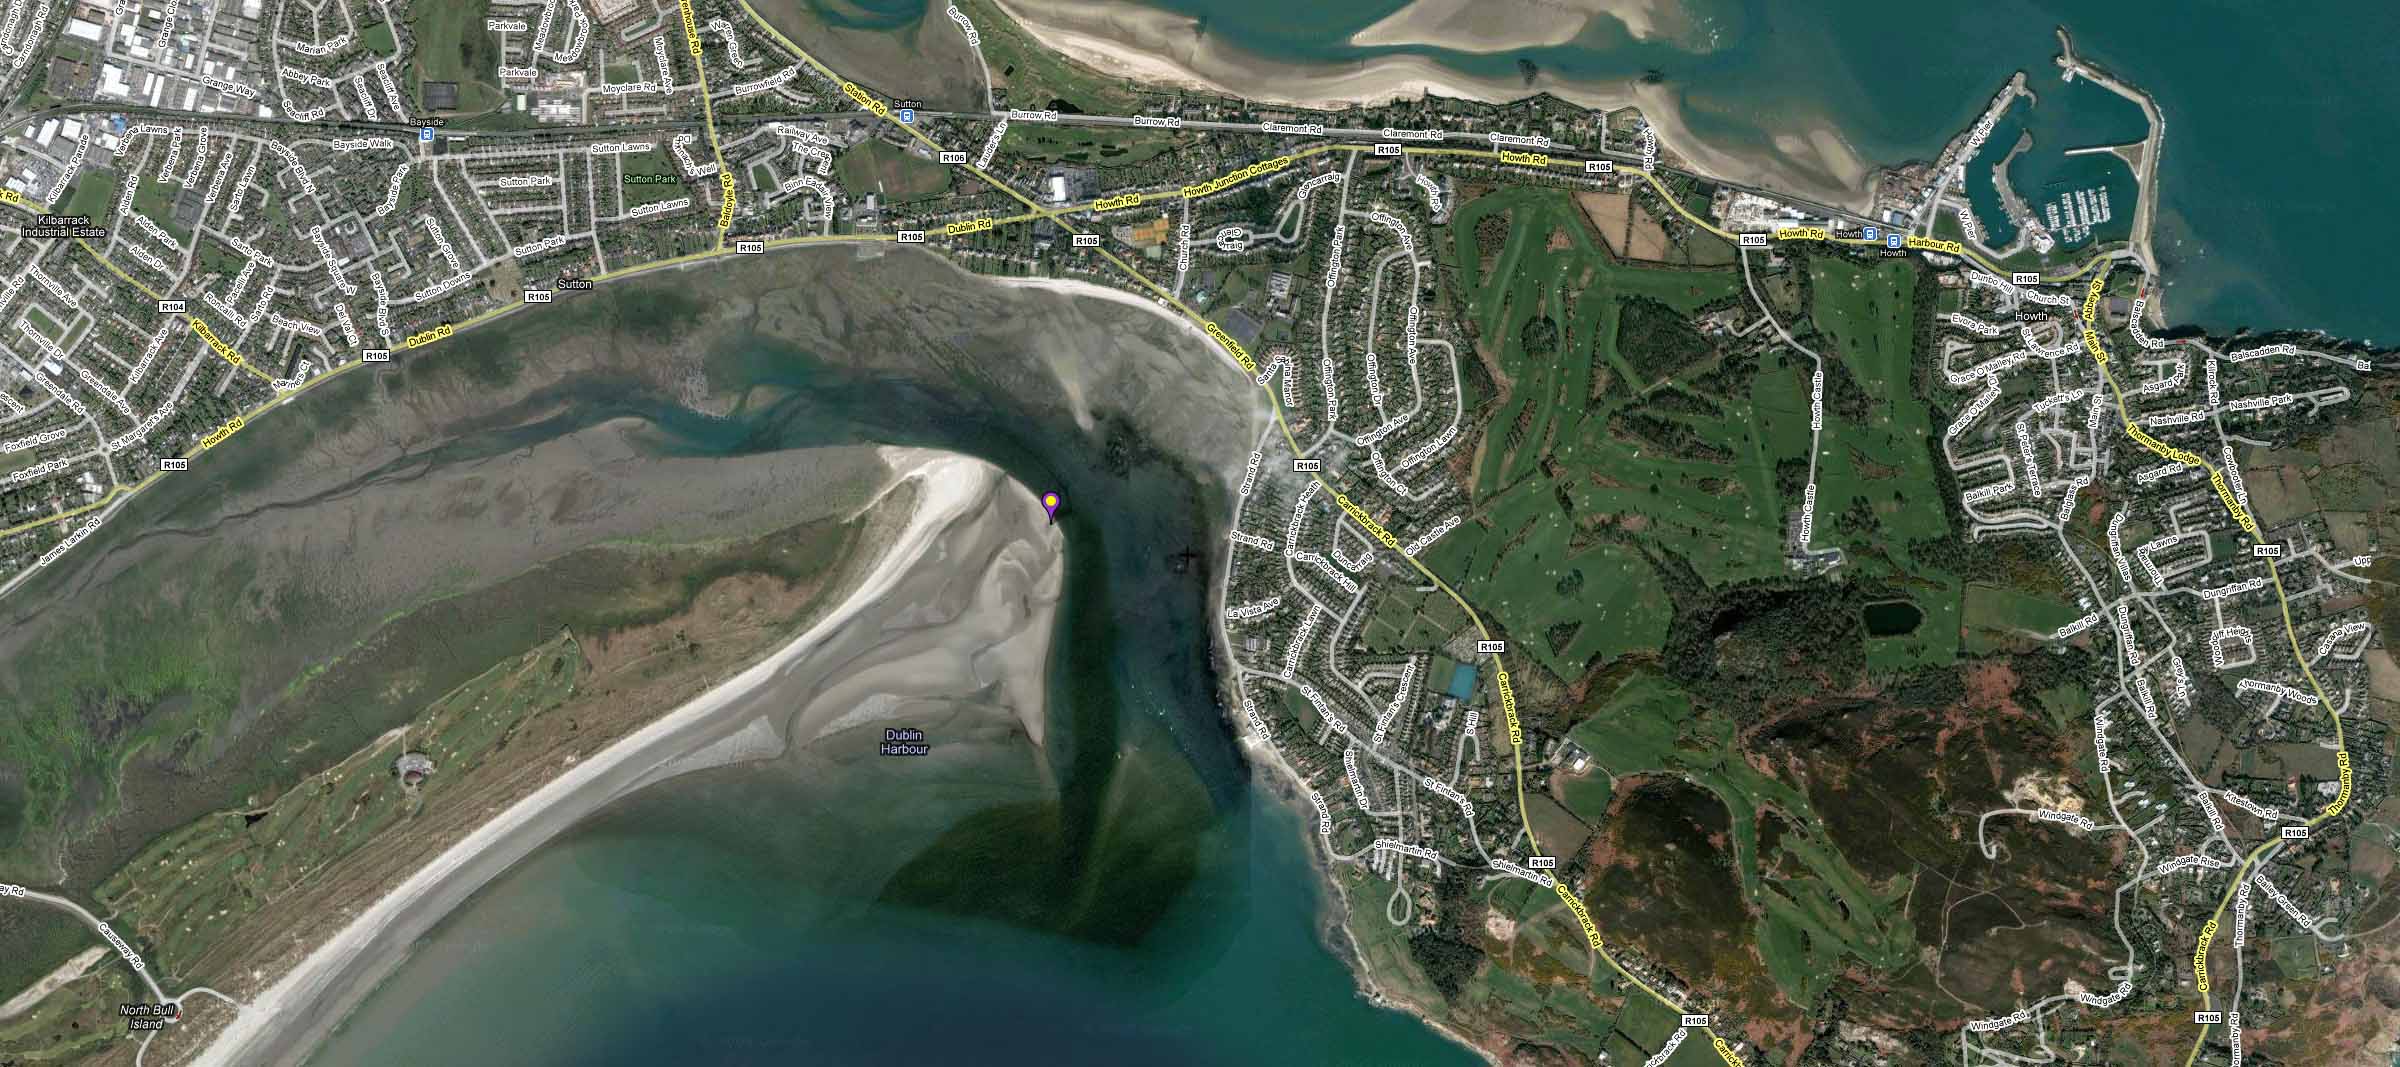
Bull Island is located just south of Howth, around a 10 min drive from Howth harbor. It is a nature reserve, so make sure to follow the rules listed there. In order to find the seals you need to park on the northern part of the Island (Second bridge if you are coming from Dublin)
Park your car in the sand parking lot, and get ready for a 20-30 min walk. Here is a quick map on where you will find the seals my location is marked with the purple marker.
For Olympus RAW file usage with GPS I recently discovered GeoSetter, great tool that can work with the .ORF files, write the .xmp card or directly into the file to accommodate GPS data. Highly recommended.
Funny enough this map shows the exact GPS location where I was located, but bear in mind that the tide changes, so that area could be covered with water any other day, but I have been there 3 times and the seals are always located on the northernmost corner of the island, but not all the time laying on the sand, which was the shot I was looking for. After a couple of tries, here is what I managed to get prior to this day..just a few head shots.
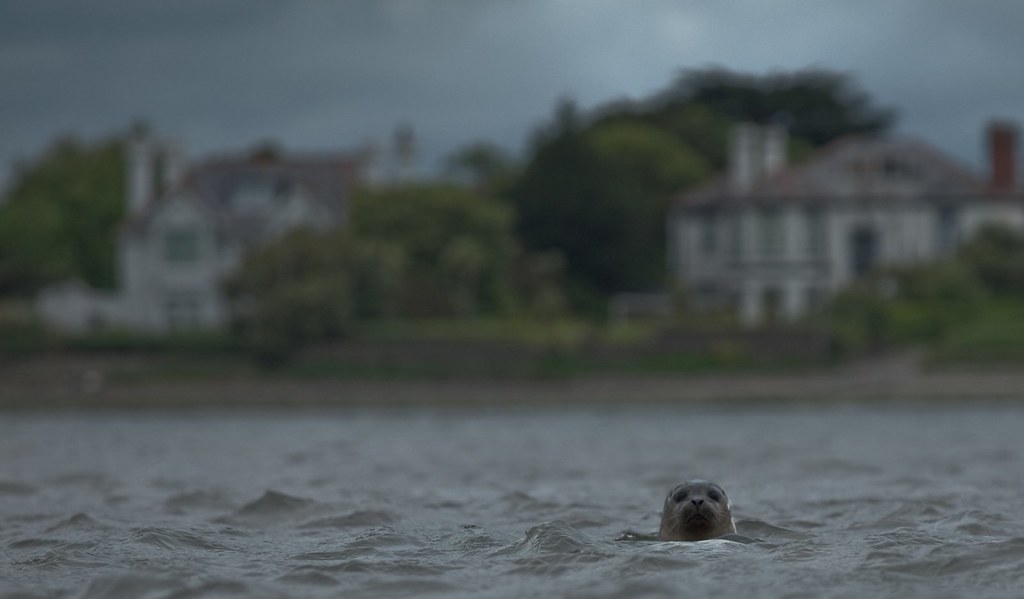 | 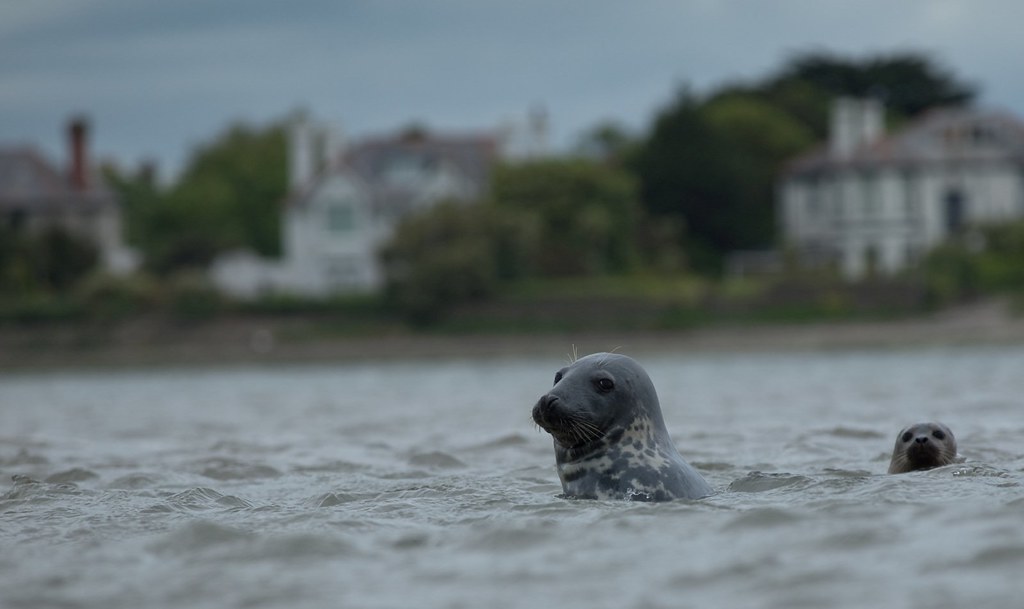 |
I believe that in order to get shots from the seals outside of the water there must be a reasonable amount of sun and a low tide, this last time I went was around 9AM, so I dont think the hour in the day matters that much.
My Gear:
After a good 30 minute walk, and depending on the tide you will find the seals at the northeast corner, approach very slowly and be very careful of the sand. I misjudged some weed and sand banks and went right in all the way to my knees covered with weed,sand and I am sure smell liked shit. Once you are 50-75 meters away from the seals lay down on the sand, take your gear out and start approaching them by dragging yourself trough the sand, if the seals see something taller or something similar to a human shape they will dive right into the water.
Take a few shots and get closer, make the seals comfortable, and then get closer again, if some of them get scared and dive into the water stop immediately, stay still for a few minutes and move again. I saw a group of 15-20 seals but as I got closer and the tide rose few and few seals remained.
Use your bag as a bean bag and start shooting, I used Shutter and Aperture Priority Mode, low ISO (100) and a polarizer filter. I tried some shots with the tele-converter but I thought I was sacrificing too much sharpness, so decided to get closer and also crop some of the images to close-in the seals.
Being gray seals, the metering system will struggle with the light measuring of both the harsh light reflecting on the sea and the dark features on the seals faces, so compensated with EV+1 to bring some details on the face, or try and fix on post processing.
Puppies are very curious so they are the ones that will be the most active and will get closer to you, but be careful in never getting between the puppy and the mom, as they will feel threatened. Also as some seals go in the water be aware always of where they are, they can come out behind you and you dont want to be too close, a seal bite can be very nasty and have lots of bacteria in their mouths that can cause a big infection.

I lost a very good shot of a fight between 2 adult seals. If you see a seal approaching another one, and their heads are close to each other, one of them will open its mouth that’s the beggining, put your camera on burst mode and do some manual focusing as you will see a fight that will only last for a few seconds.
Always be mindful of the tide, if you think that the waves are getting closer and closer you are right. Usually the seals are on a spot higher than the tide, that means that if you are not careful you will end up on a little sand island surrounded by water that is rising, believe me I was stuck once and had to walk with water up to my knees hauling my gear, hence the wellies. 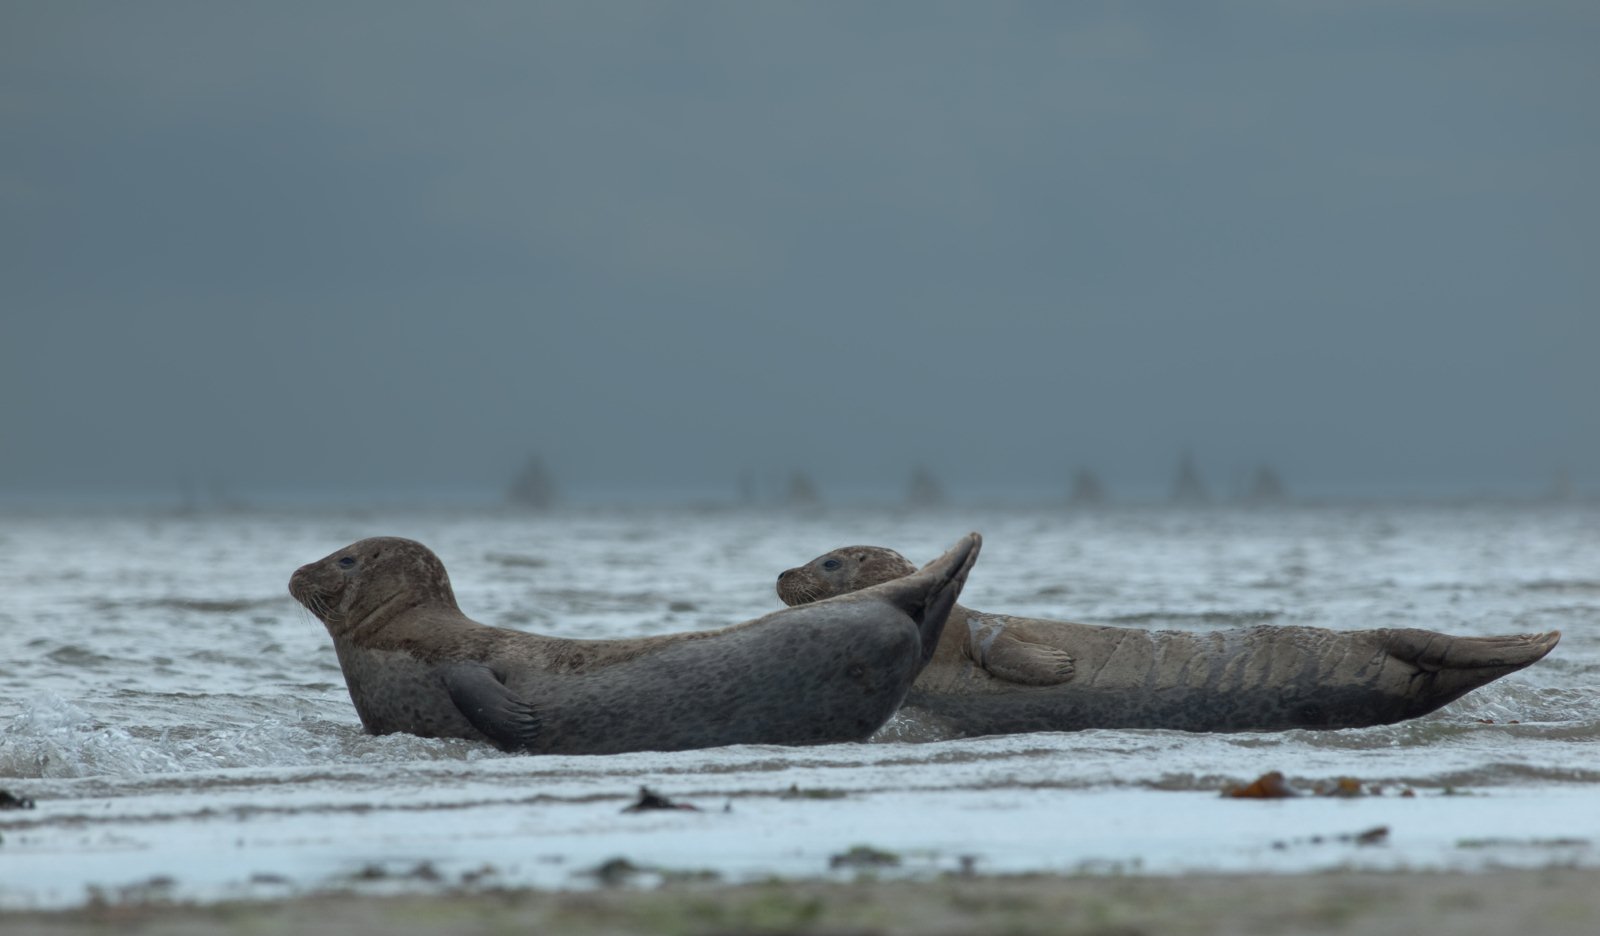 Once you get home, clean your equipment right away, there will be sand between the extension part of your lenses and all around the buttons, even though the E-3 is weather sealed, clean this with an air brush as you dont want corrosion. For your bag, wait for the sand to dry and then shake all the sand off, there will be a lot of sand accumulated on the back area of the backpack that you wont see but once it dries it will come off rather easily. If you want to see the whole set of pictures visit my site at flickr here..
